Small and hassle-free subversion repository with Goolge Code and Netbeans 5.5
Always wanted to use subversion but didn’t want to set up own server, didn’t know how, or maybe didn’t want to go through registration on java.net? Maybe for many it won’t be surprise BUT maybe there are some people out there, who just like me haven’t realized about free 100MB (can be more) version control account on Google. Here you go, a simple guide to set up subversion on google’s server with Netbeans 5.5!
A few simple steps, few minutes and you can access your project from anywhere!
Step 1. Go to google code project hosting web site at:
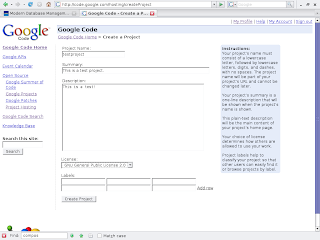
http://code.google.com/hosting/ Step 2. Click “Create new project” link, and enter required information:
 Step 3. Go to code tab and check the repository details, on this page you have to generate the password to access the repository with netbeans:
 Step 4. Your project is now created! Make note of the details and the password.
Step 5. Open up Netbeans and make sure that you have subversion support, if not install subversion from netbeans update center. When subversion is installed click Subversion -> Check out.. and enter the details found on the project website.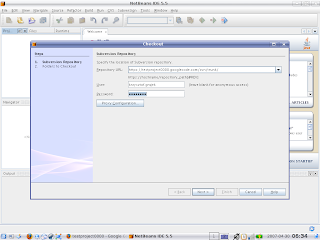 Step 6. When you are connected to your repository choose the location on you computer and leave the rest as it is, click “Finish”. Netbeans will now check your project out from the google server.
Step 7. Create new netbeans project from the repository.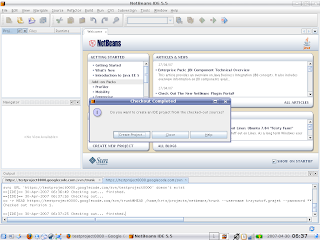
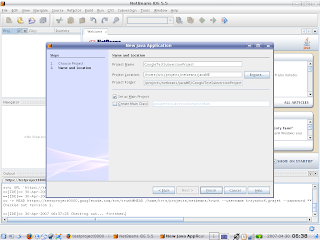
Step 8. When you’ve finished, right click on the project node, Subversion -> import into subversion, on the panel click “Next”.
Step 9. You have to provide the label for the import to take effect. You can find the list of possible labels on the project website.
Step 10. Enjoy! Your first subversion project was updated on google’s subversion server. Click “Finish” and commit the changes!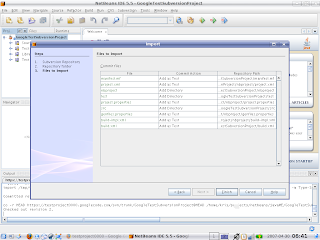 Si ya! 😉